Impressive PowerPoint Timelines for Status meetings
A timeline is probably one of the most used diagrams in a business presentation. Timelines are the best way to share high-level information about your project with managers or stakeholders to quickly wade through status meetings. Timelines cover a great period of time or chronological structuring of events and are a powerful way of conveying sequential information such as historical dates or future project milestones or deadlines.
Let us learn how to create the below Timelines using SmartArt
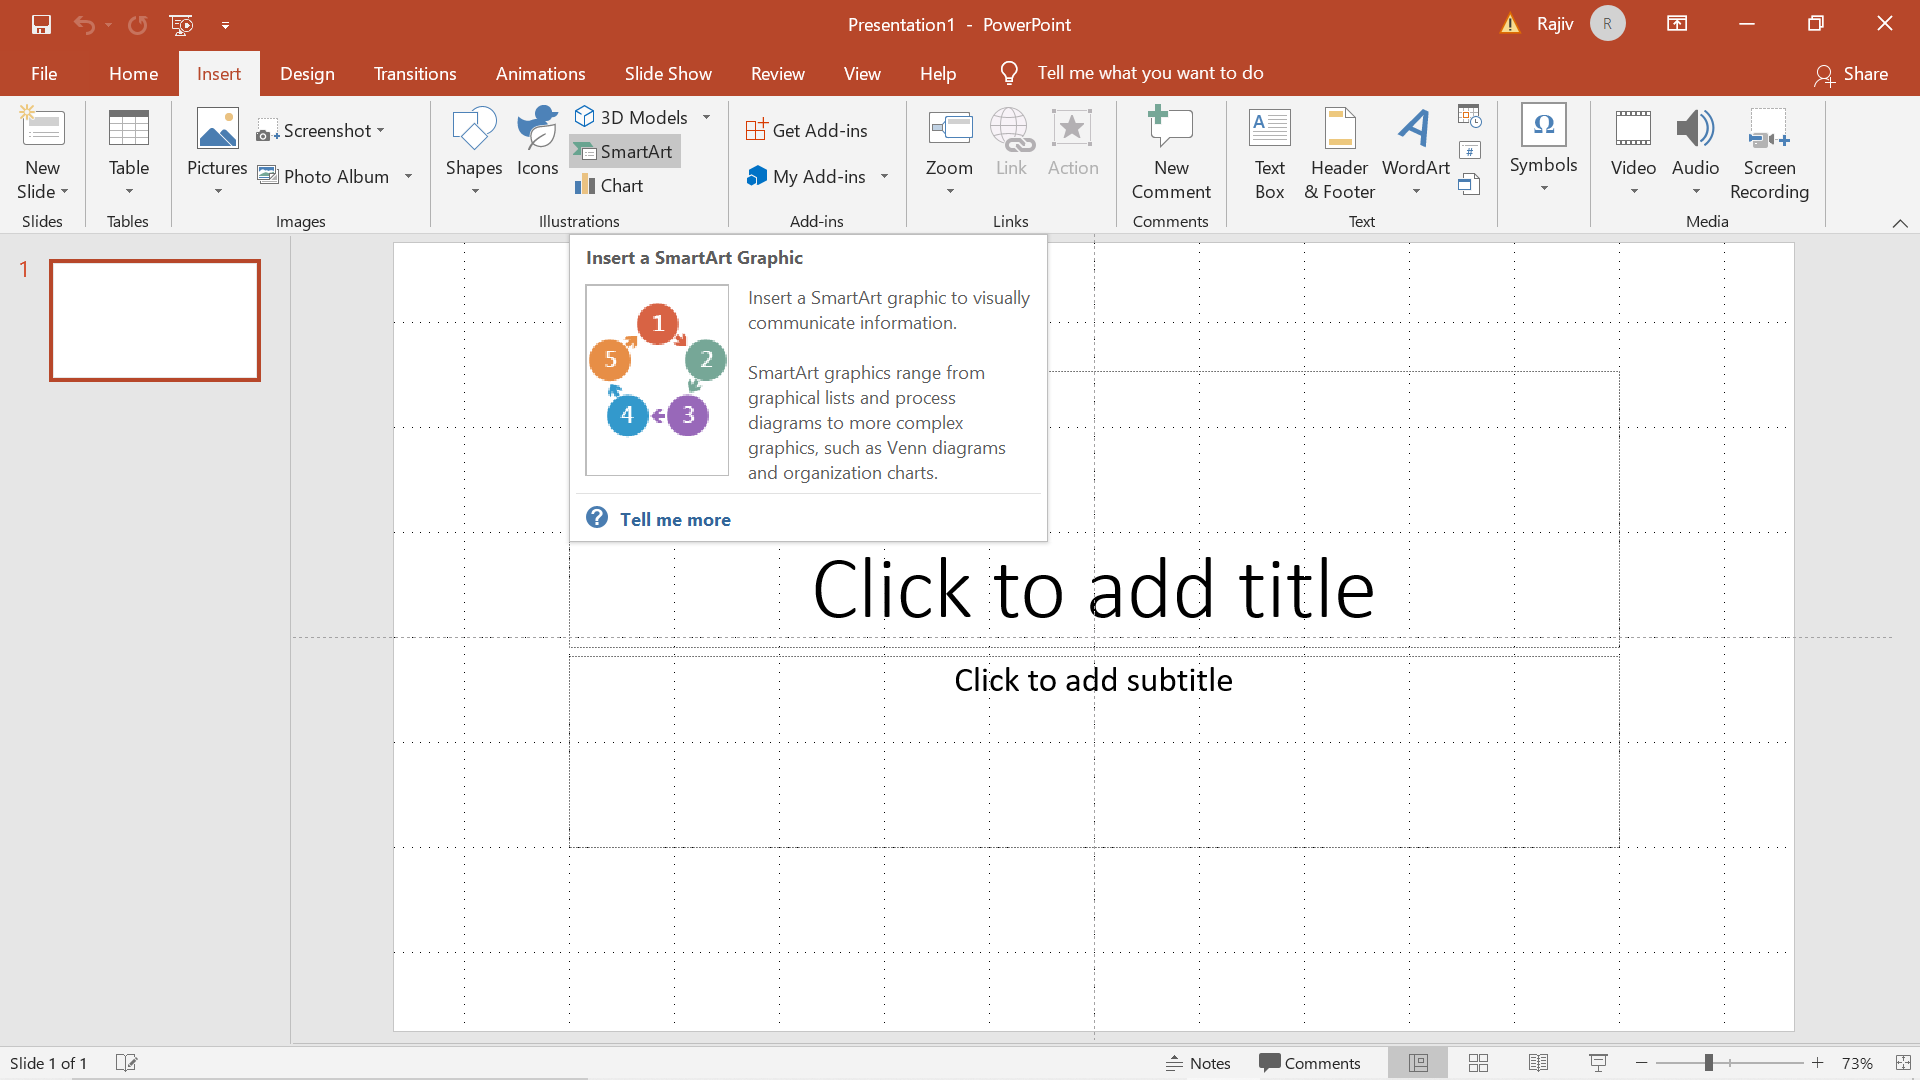
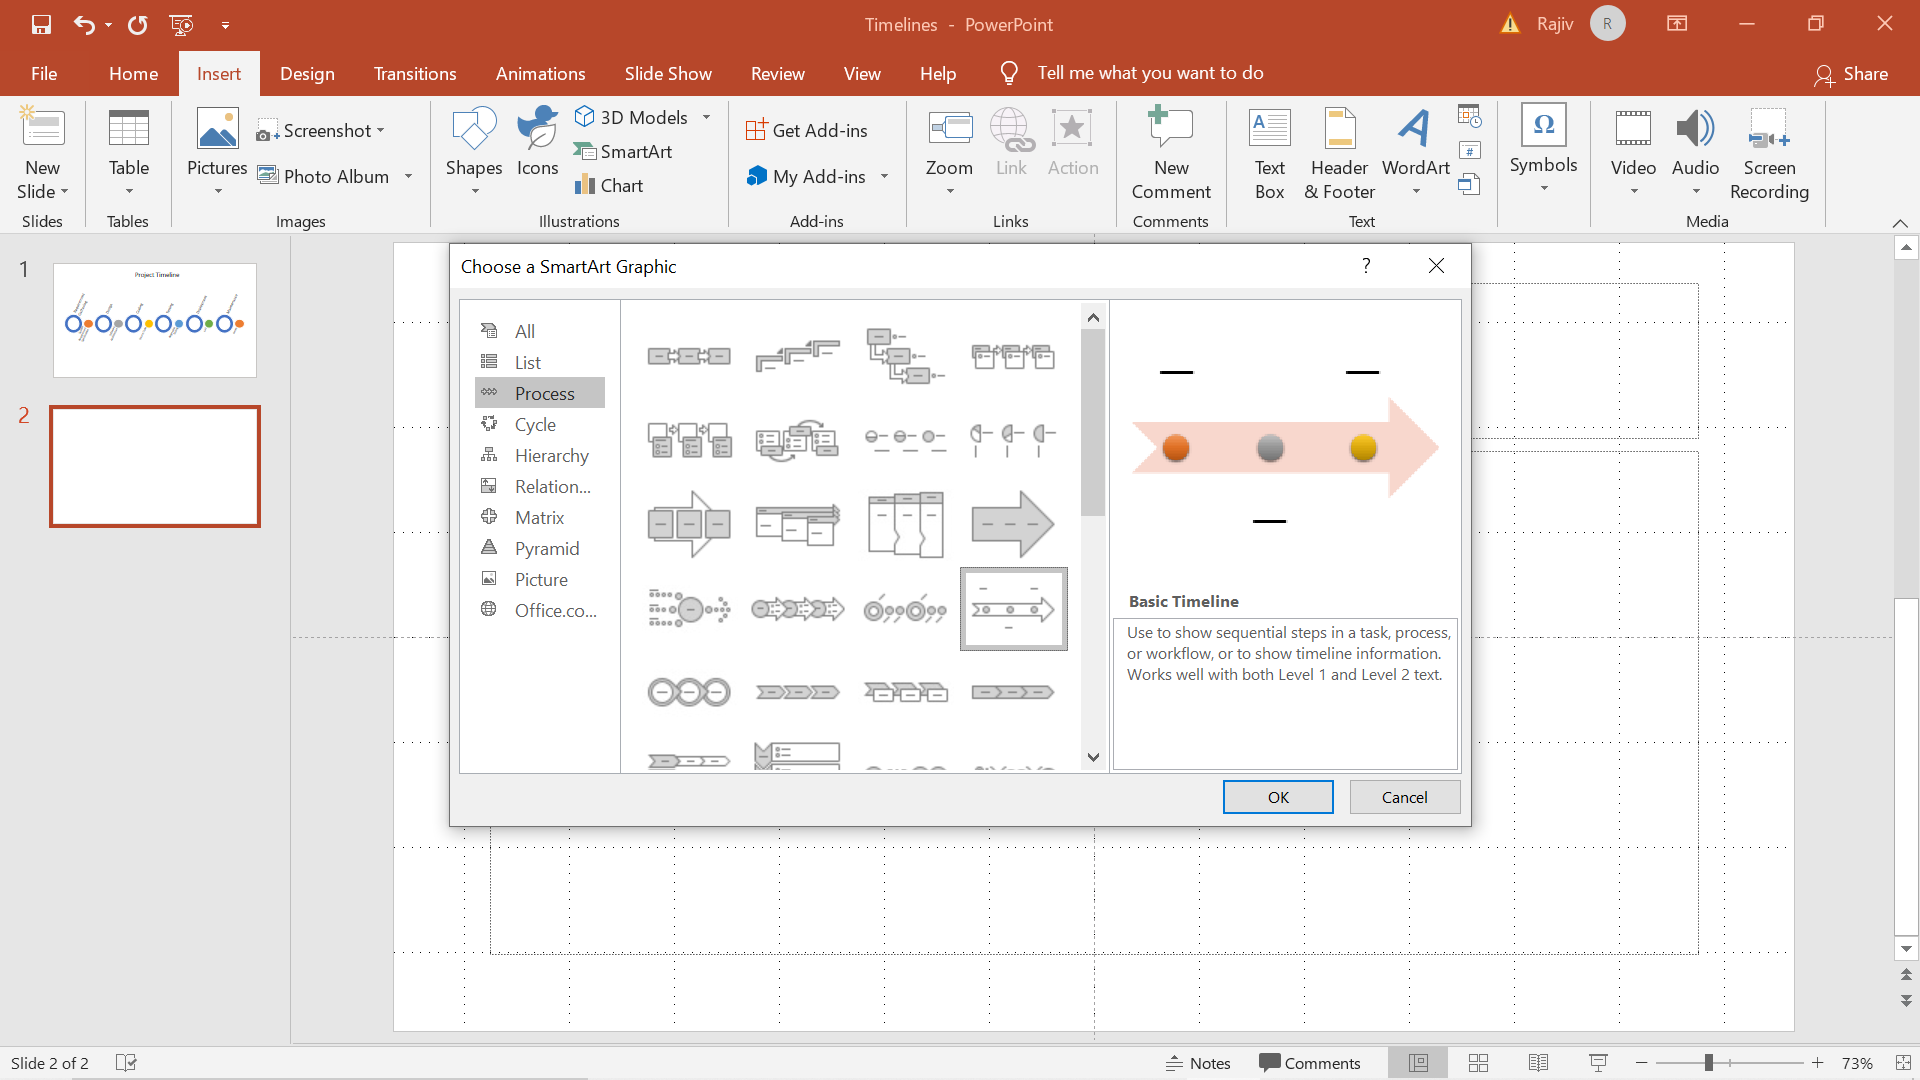
Step1: Click on Insert -> SmartArt
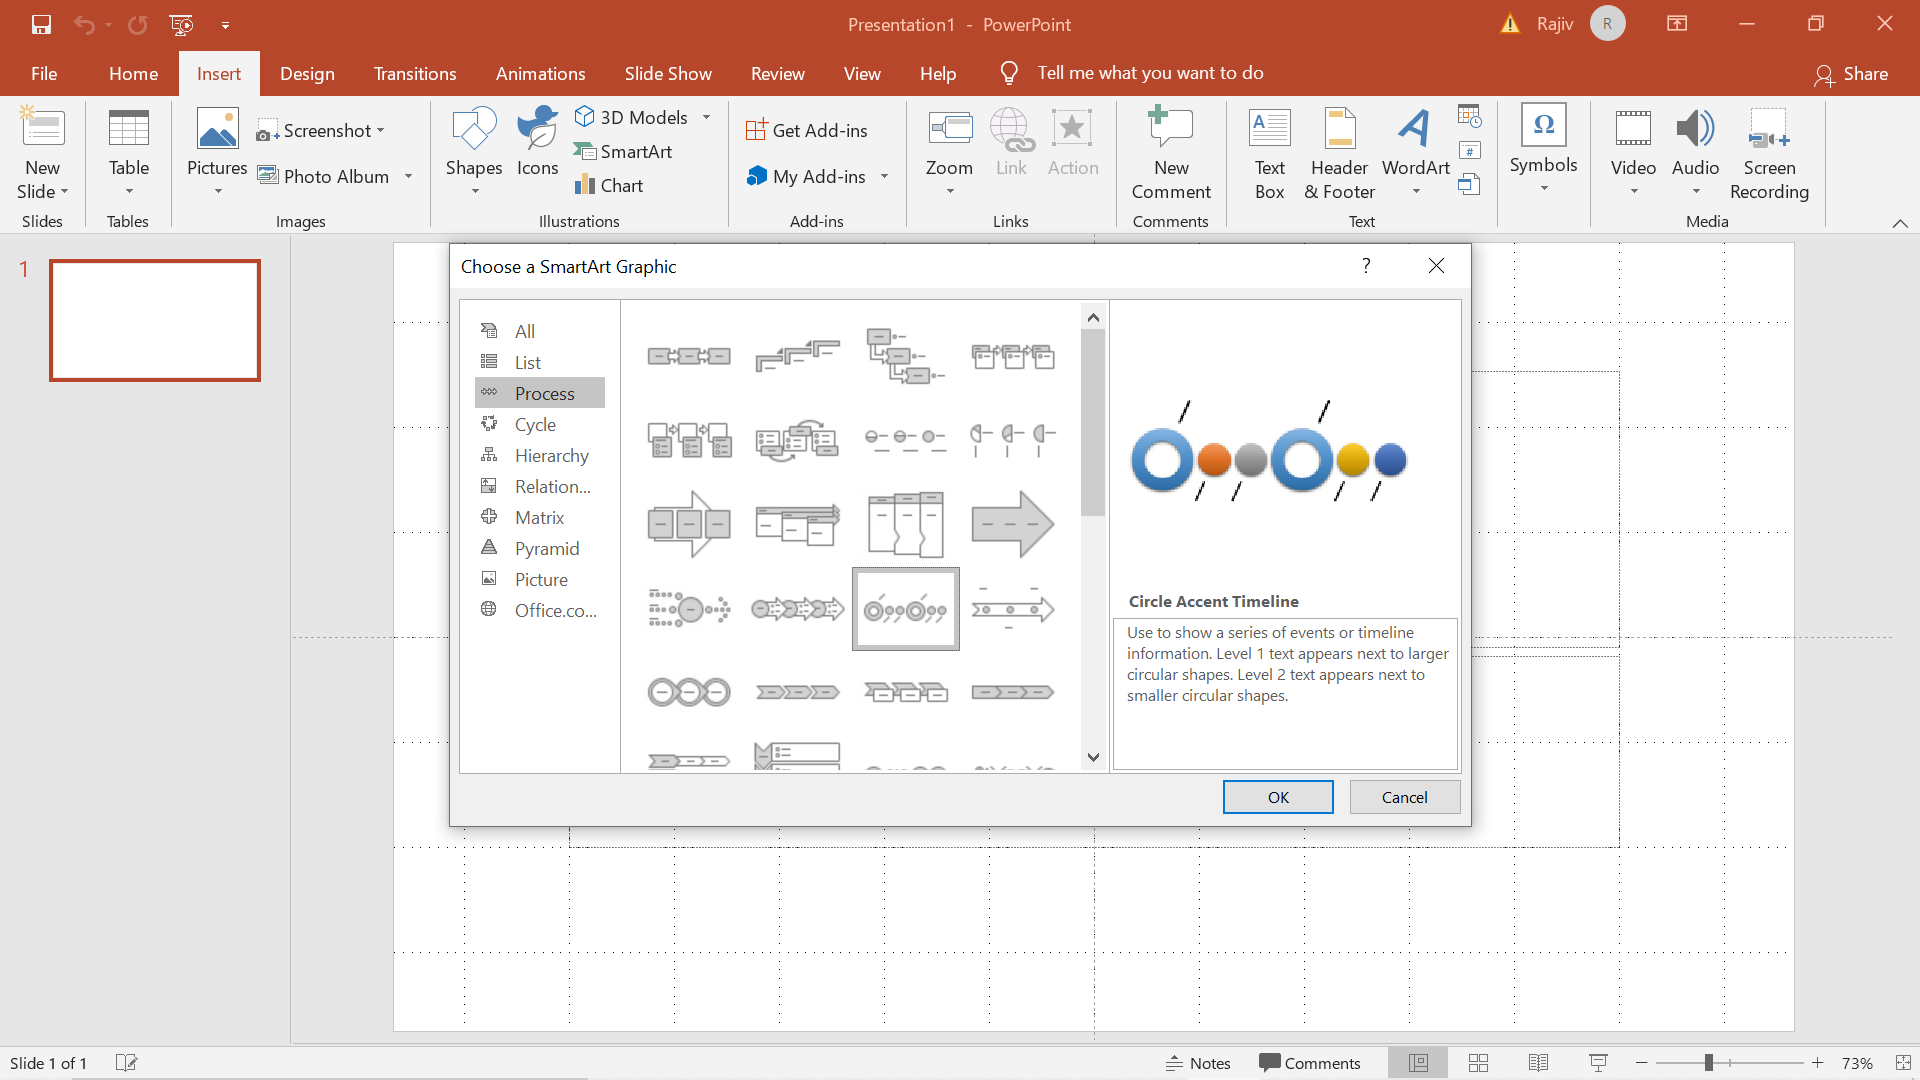
Step 2: In the pop-up box, on the left-hand side, click Process

Step 3: Choose Circle Accent Timeline
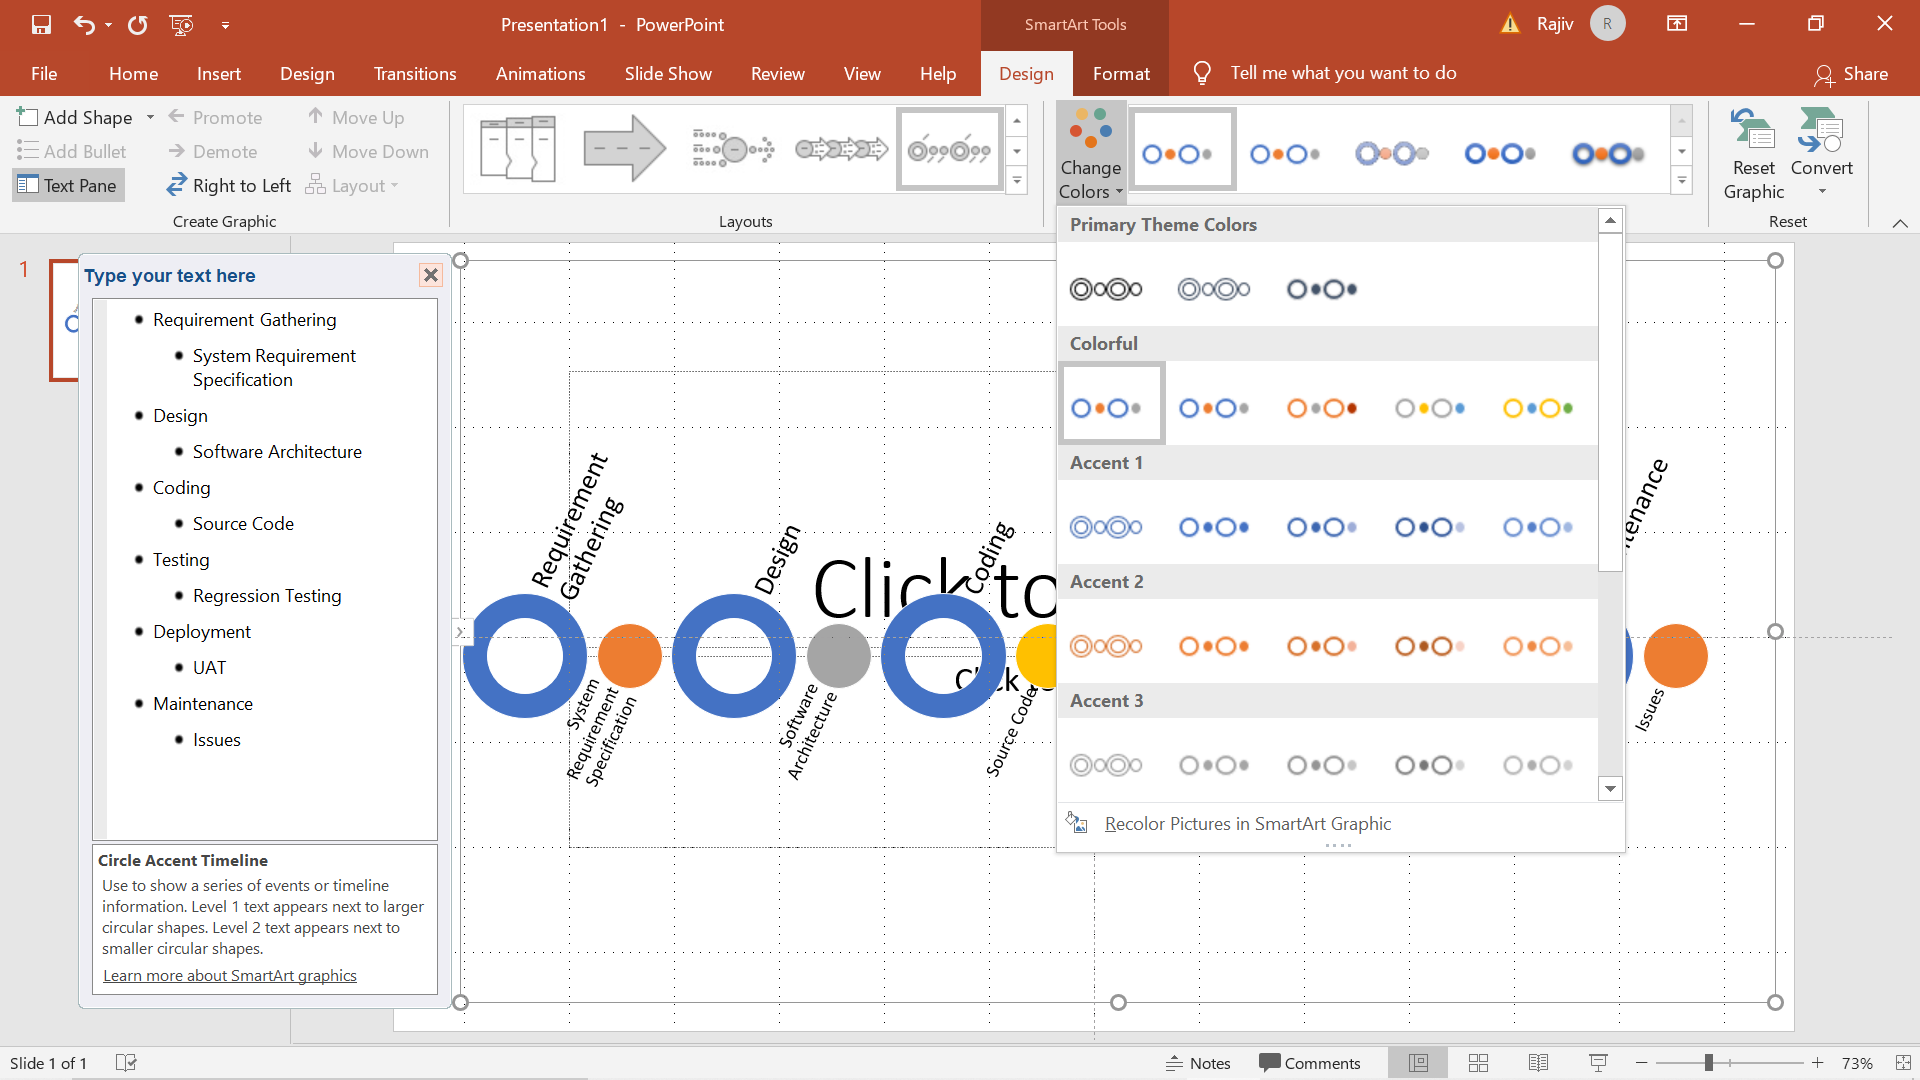
Step 4: Enter the Timeline elements

Step 5: Click on Change Colors to find the color scheme that best fits your need
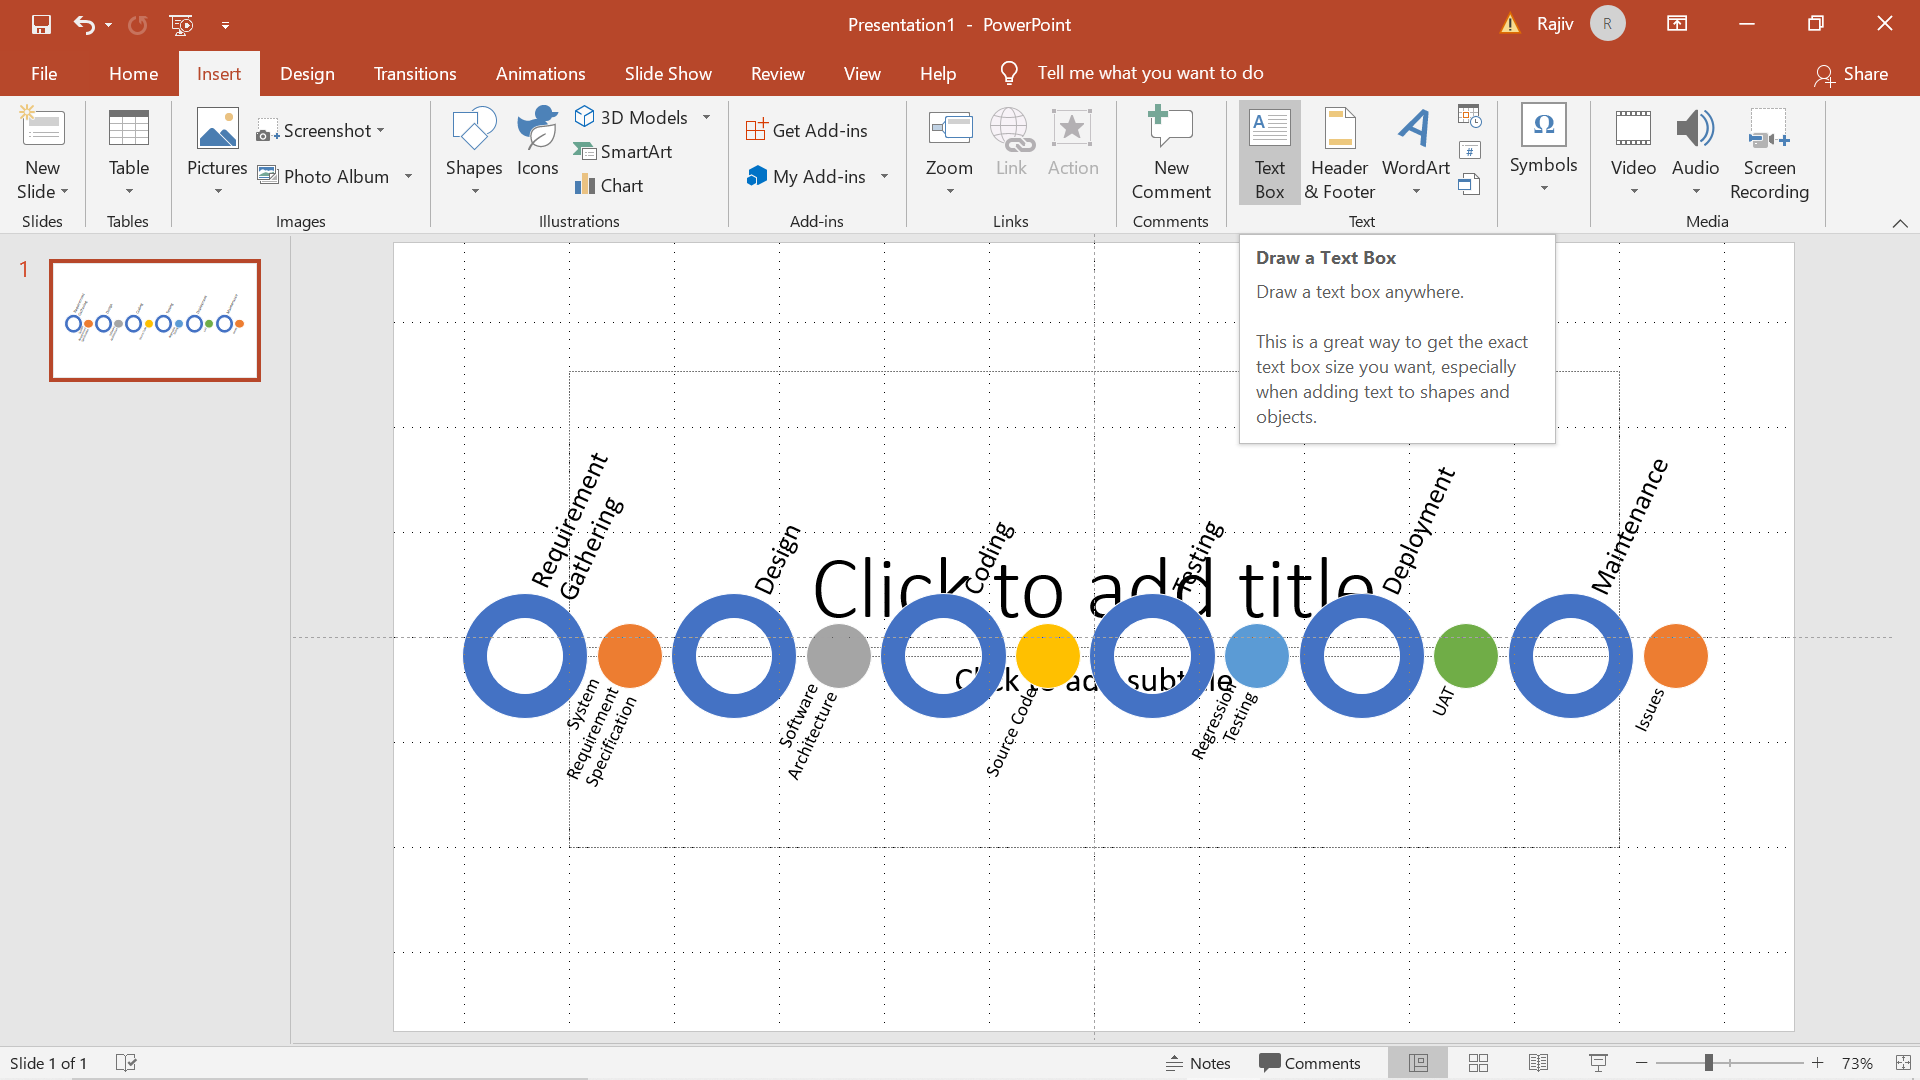
Step 6: Click on Insert –> Text Box
Step 7: Insert suitable Slide Header
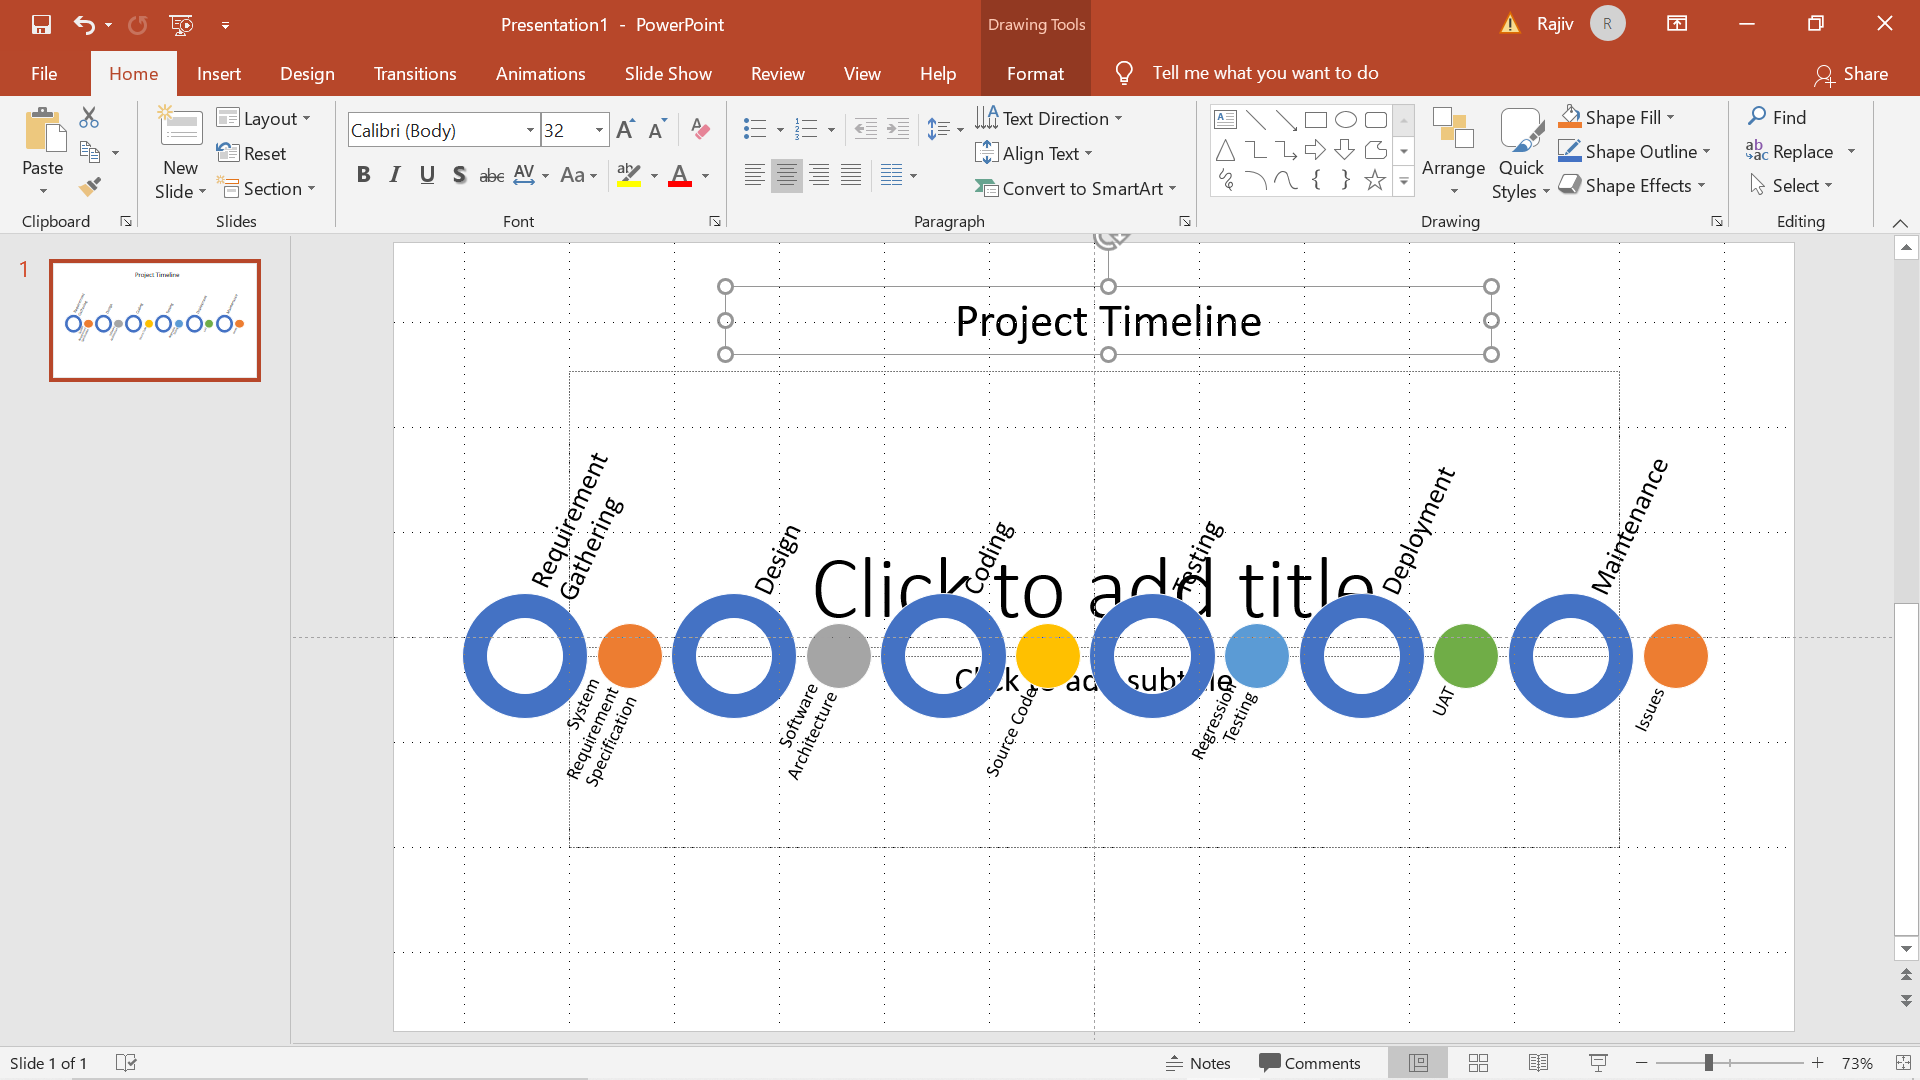
Step 8: Preview the Slide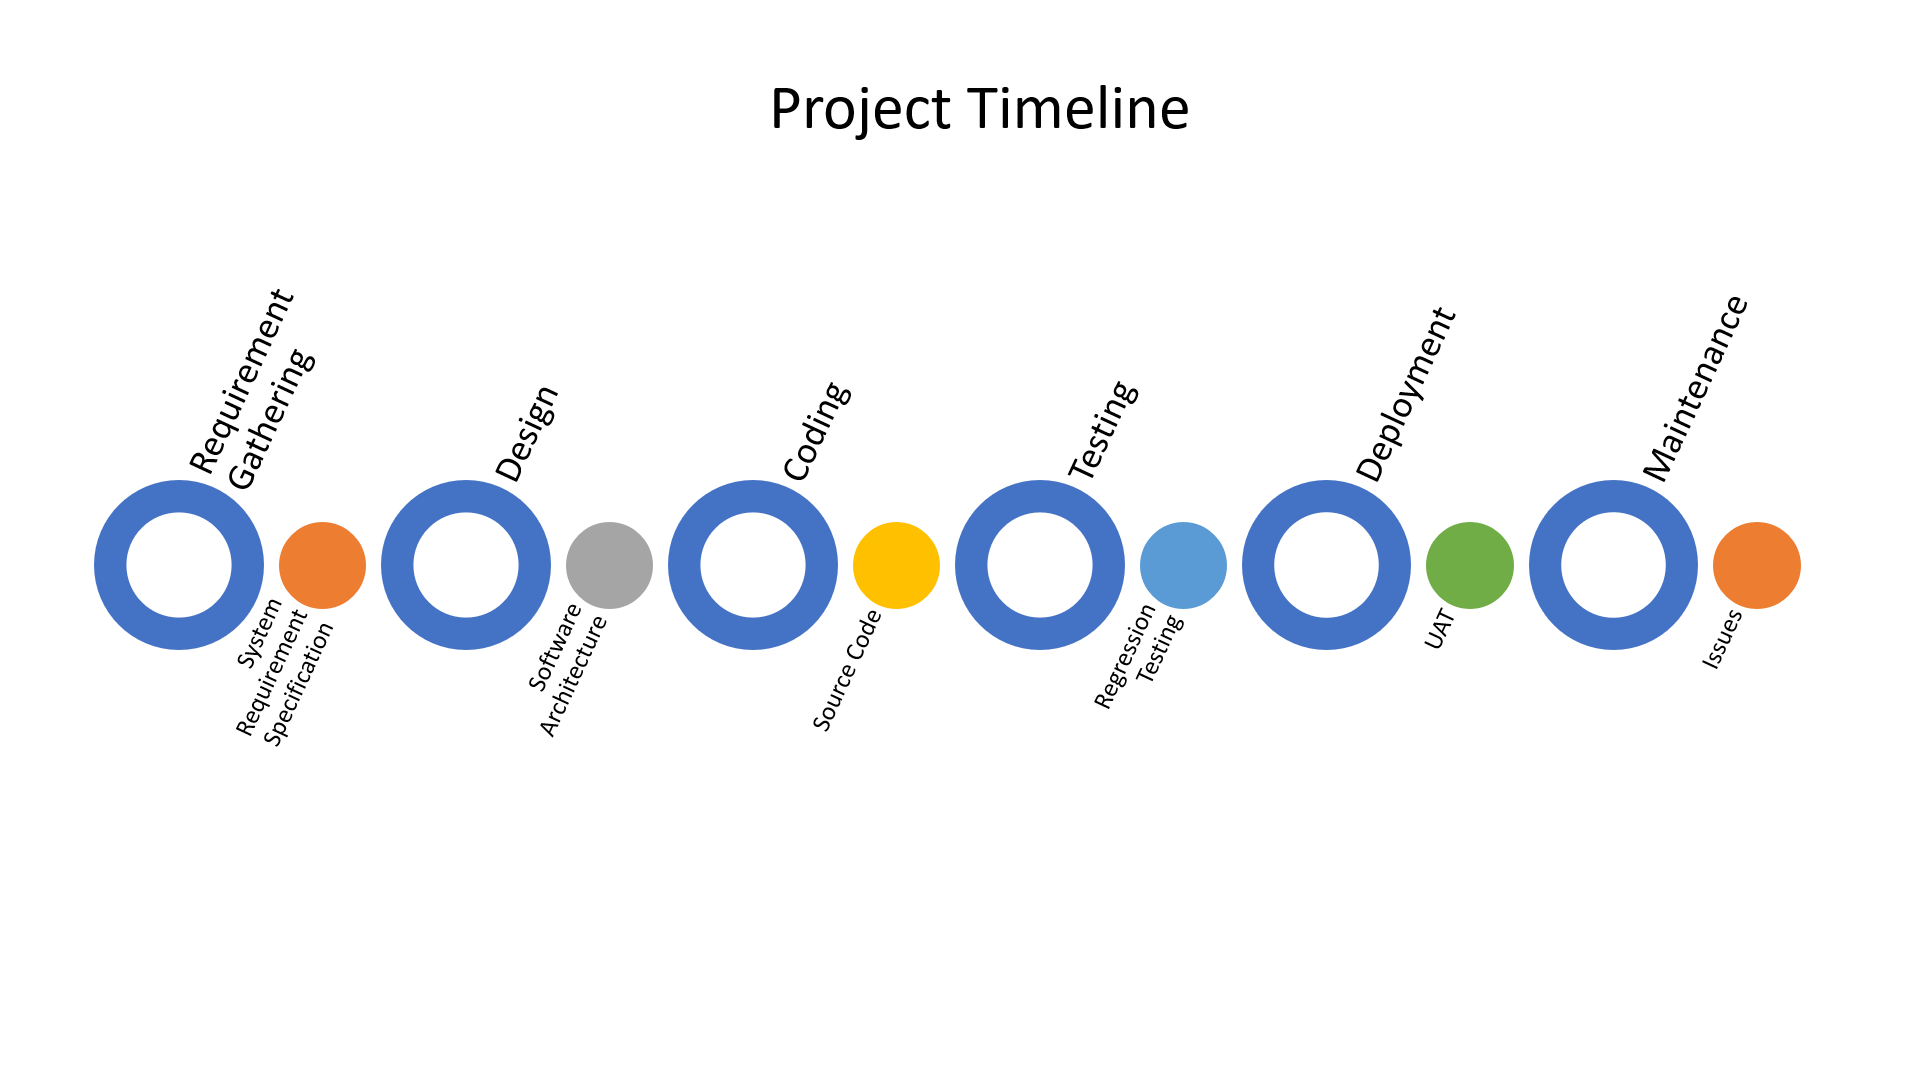
Step 9: Press Ctrl + M to insert a new slide
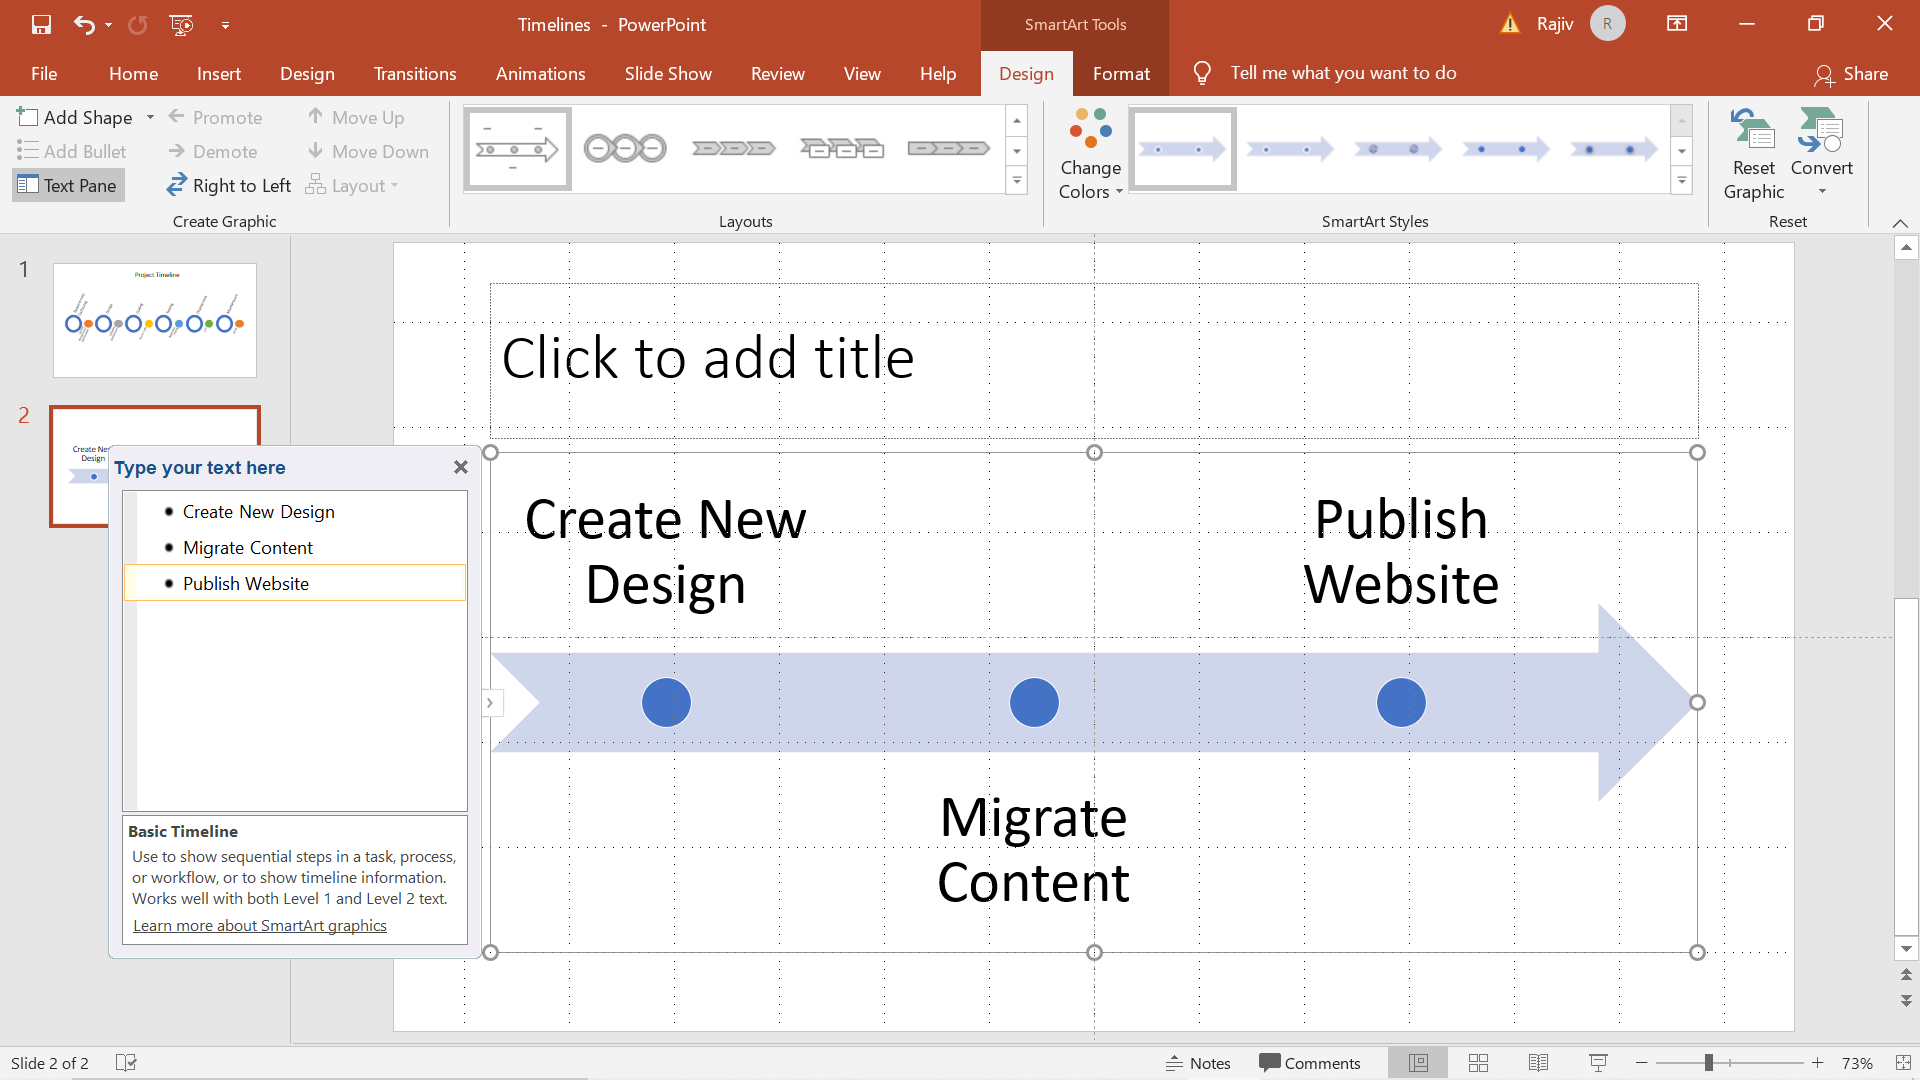
Step 10: Choose Basic Timeline
Step 11: Add Text
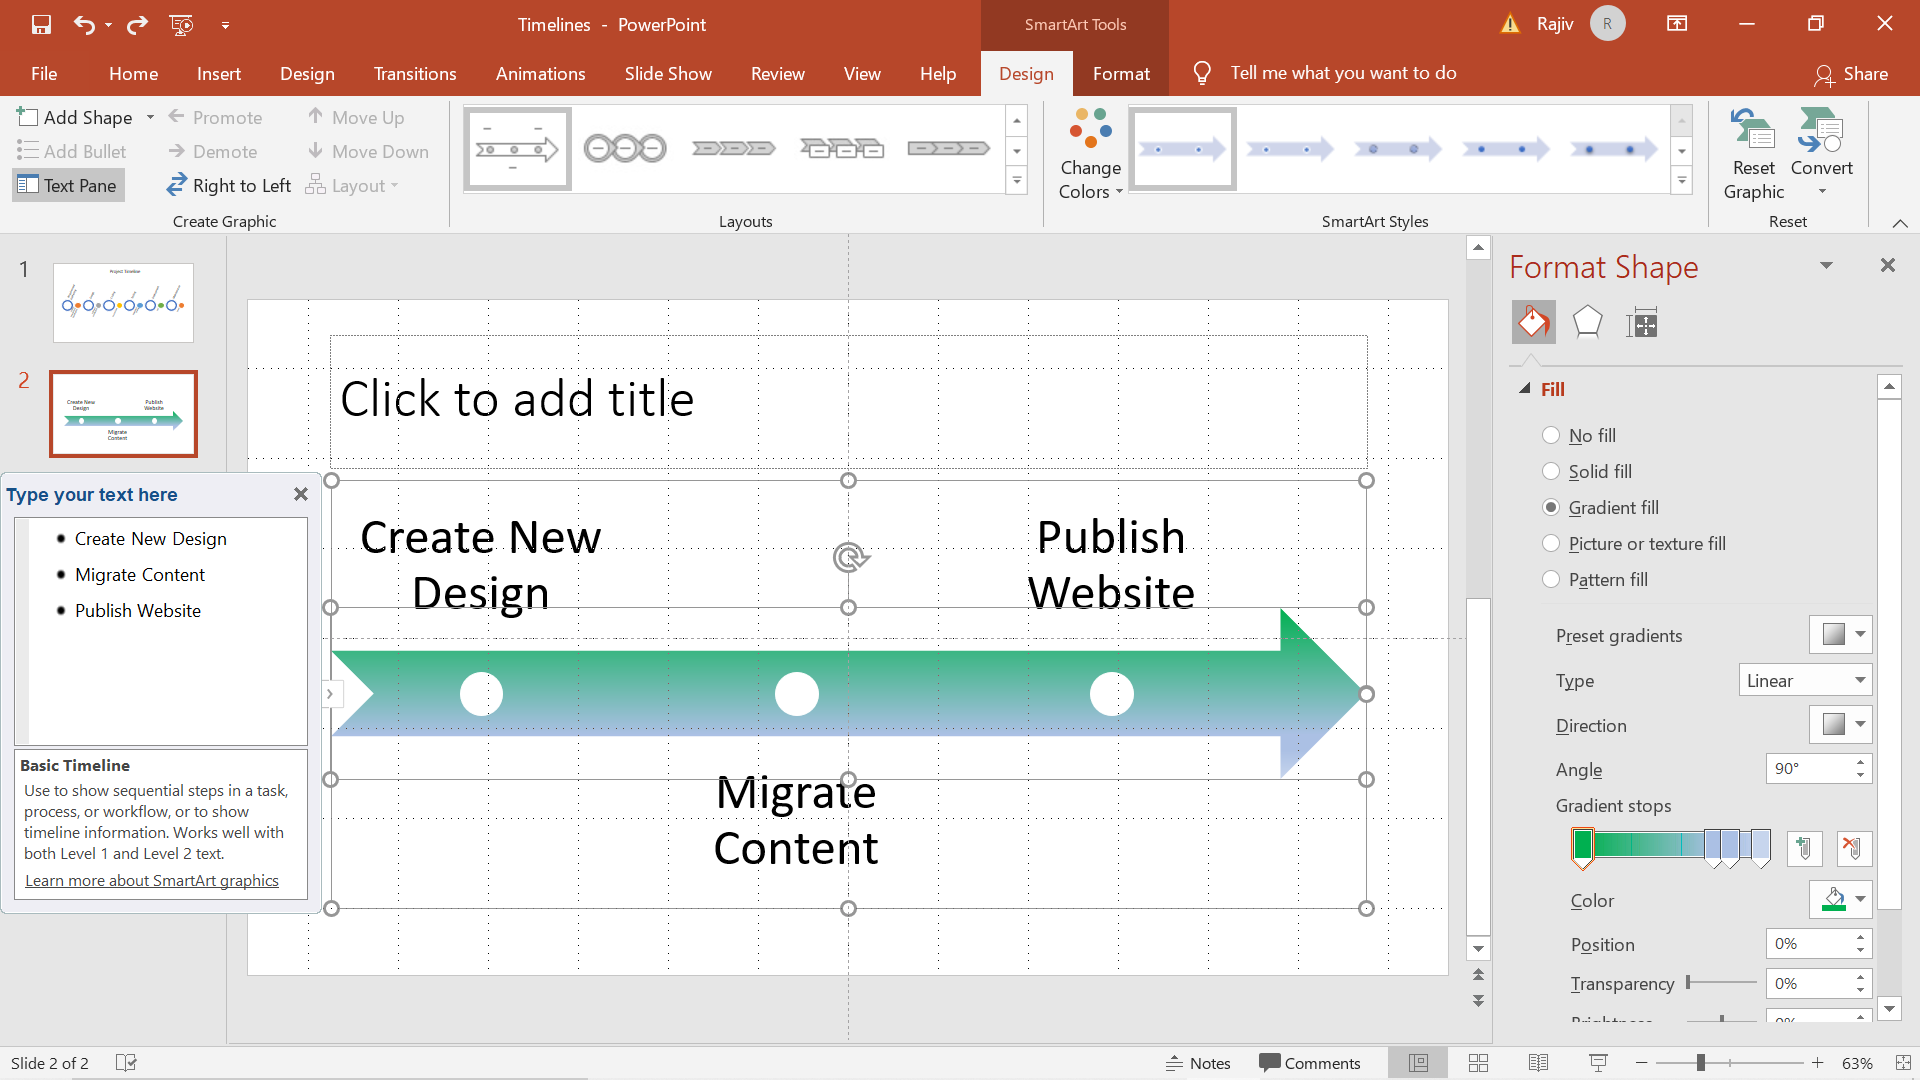
Step 12: You can adjust the fill options using a custom gradient color
Step 13: Insert suitable Slide Header
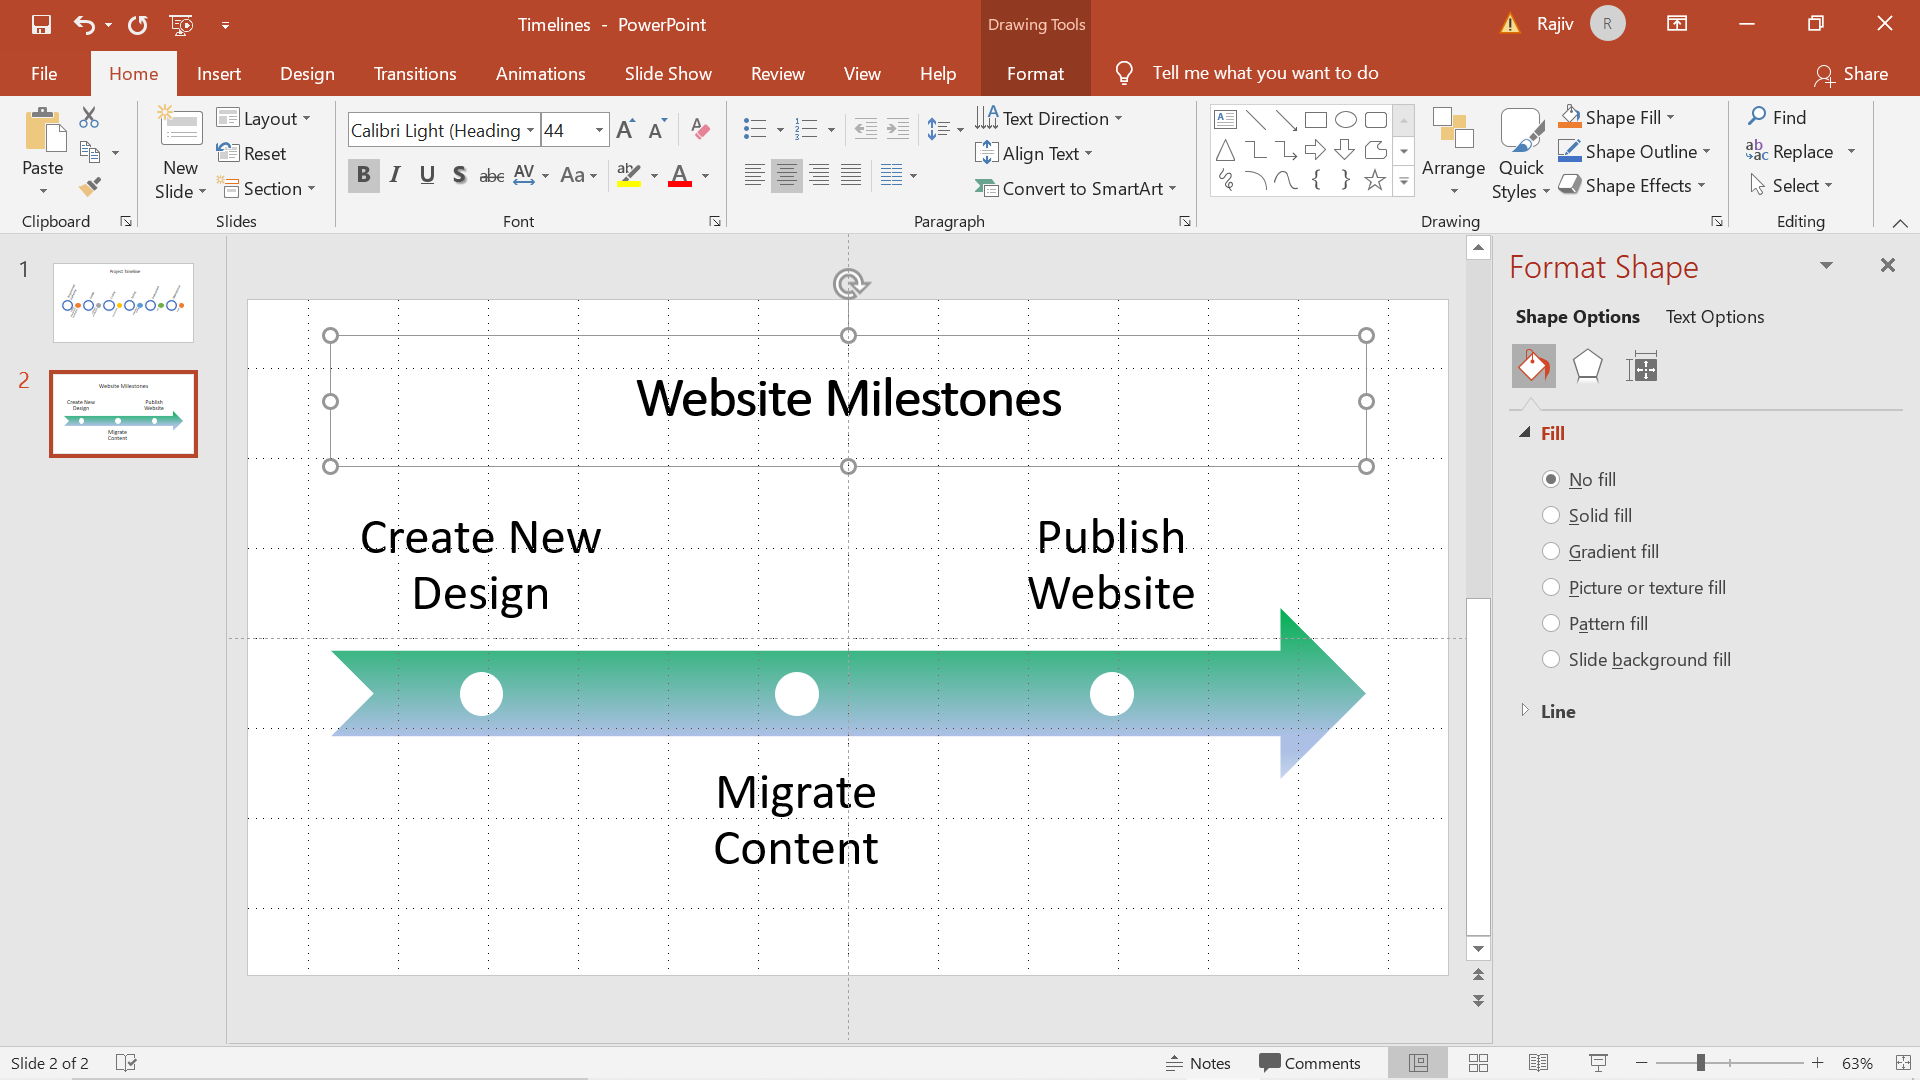
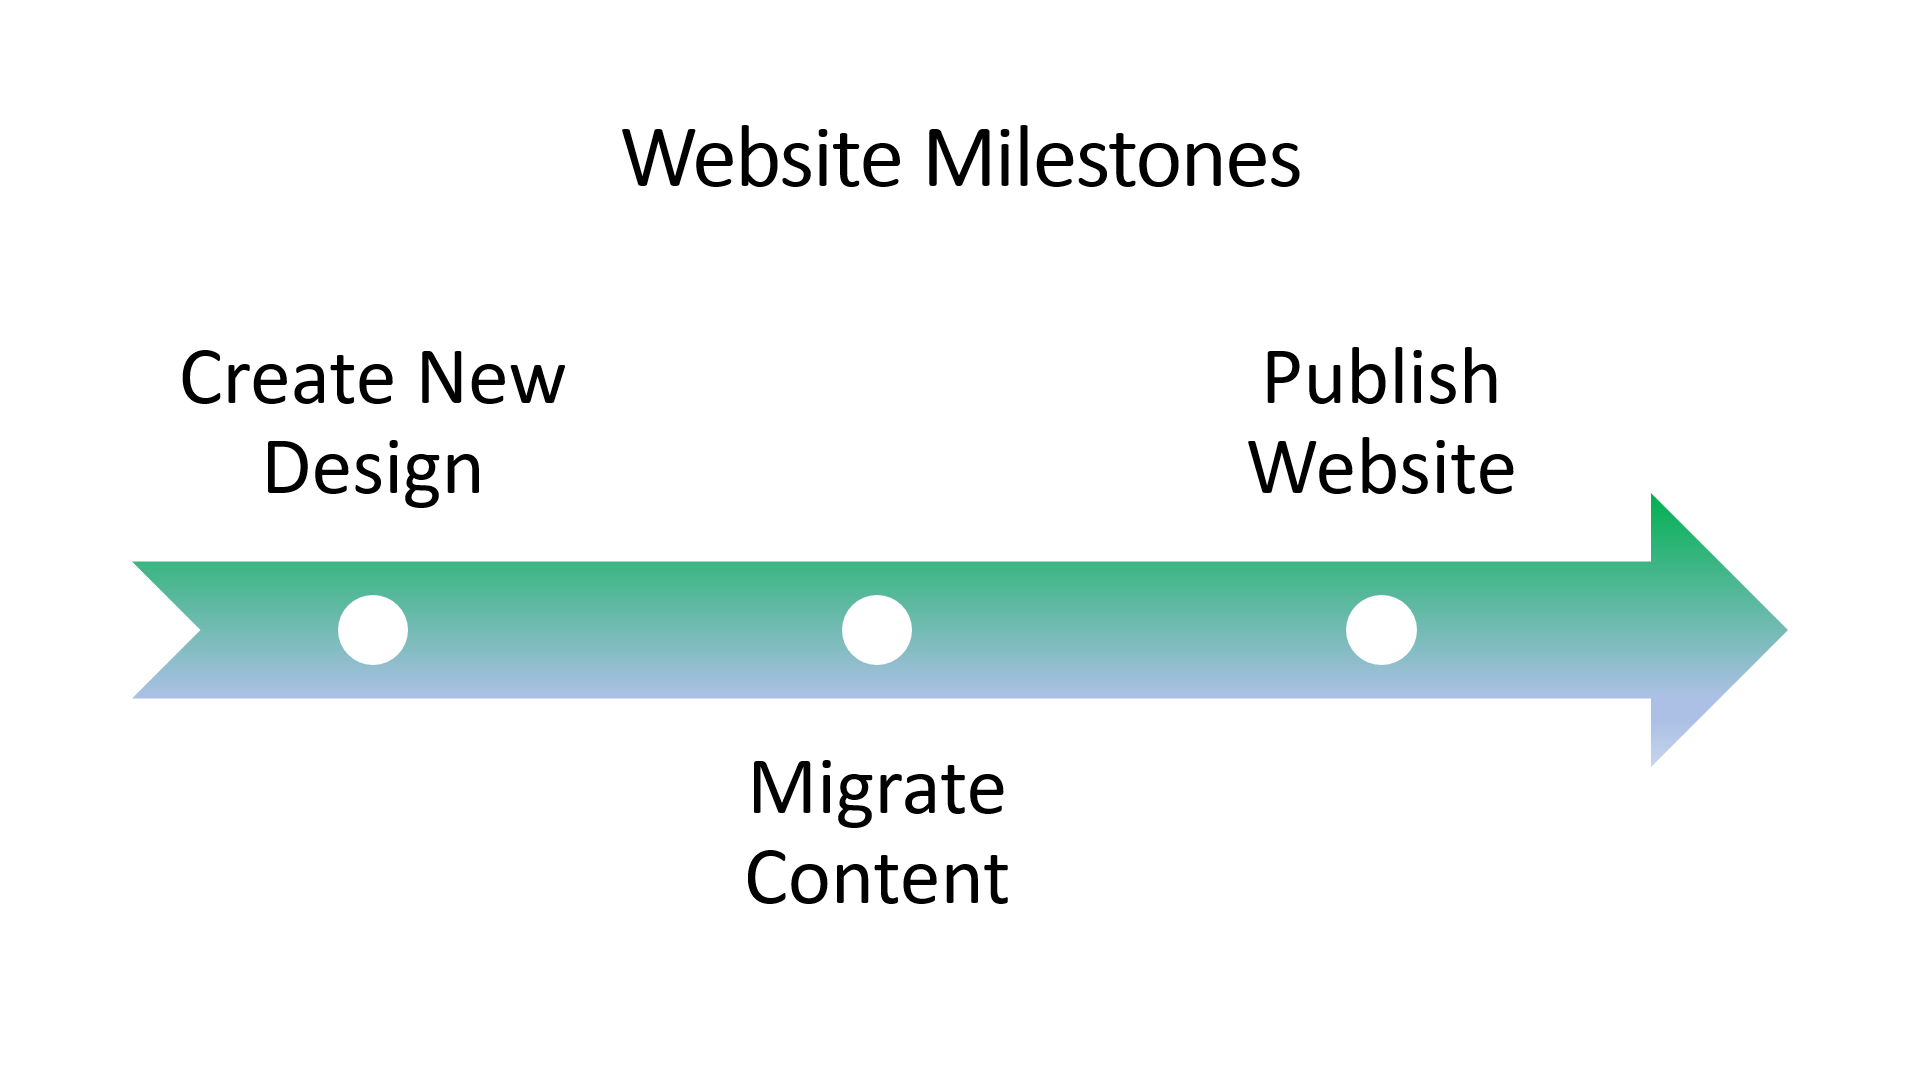
Step 14: Preview the Slide
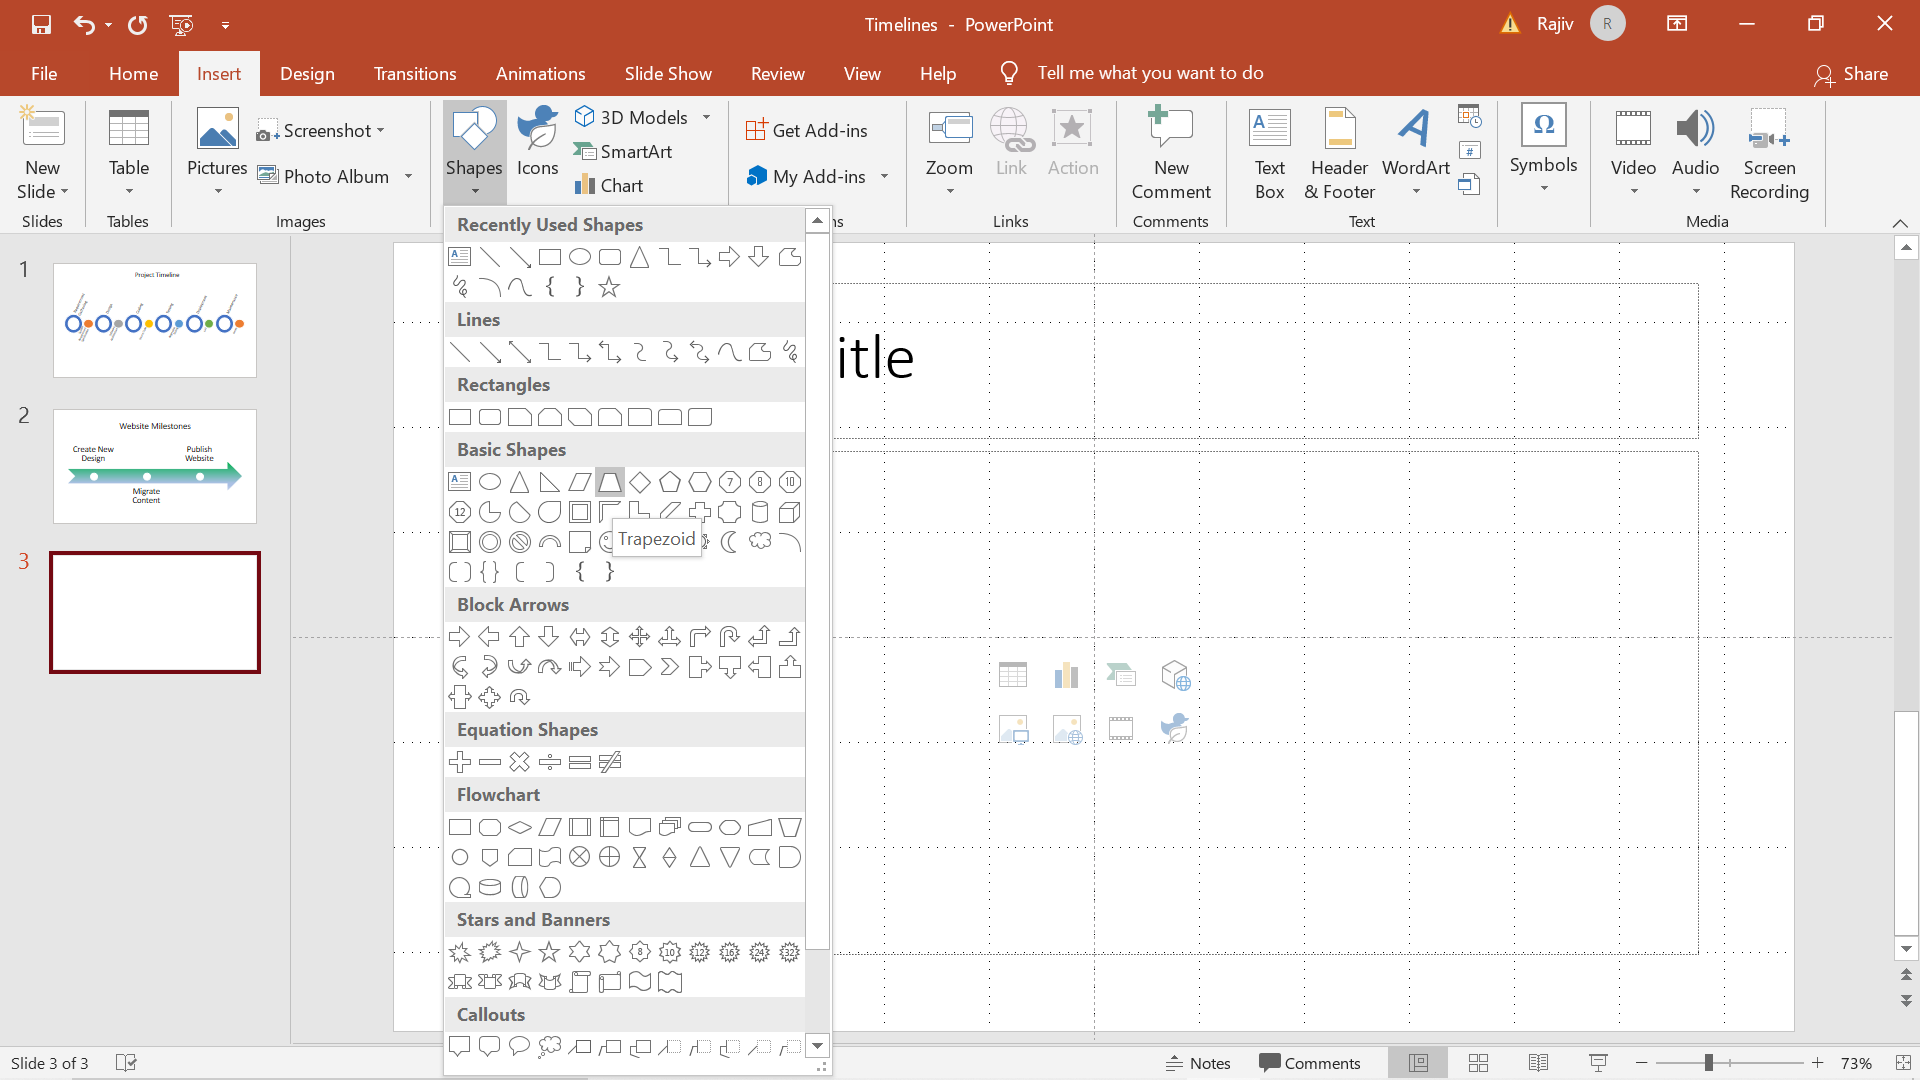
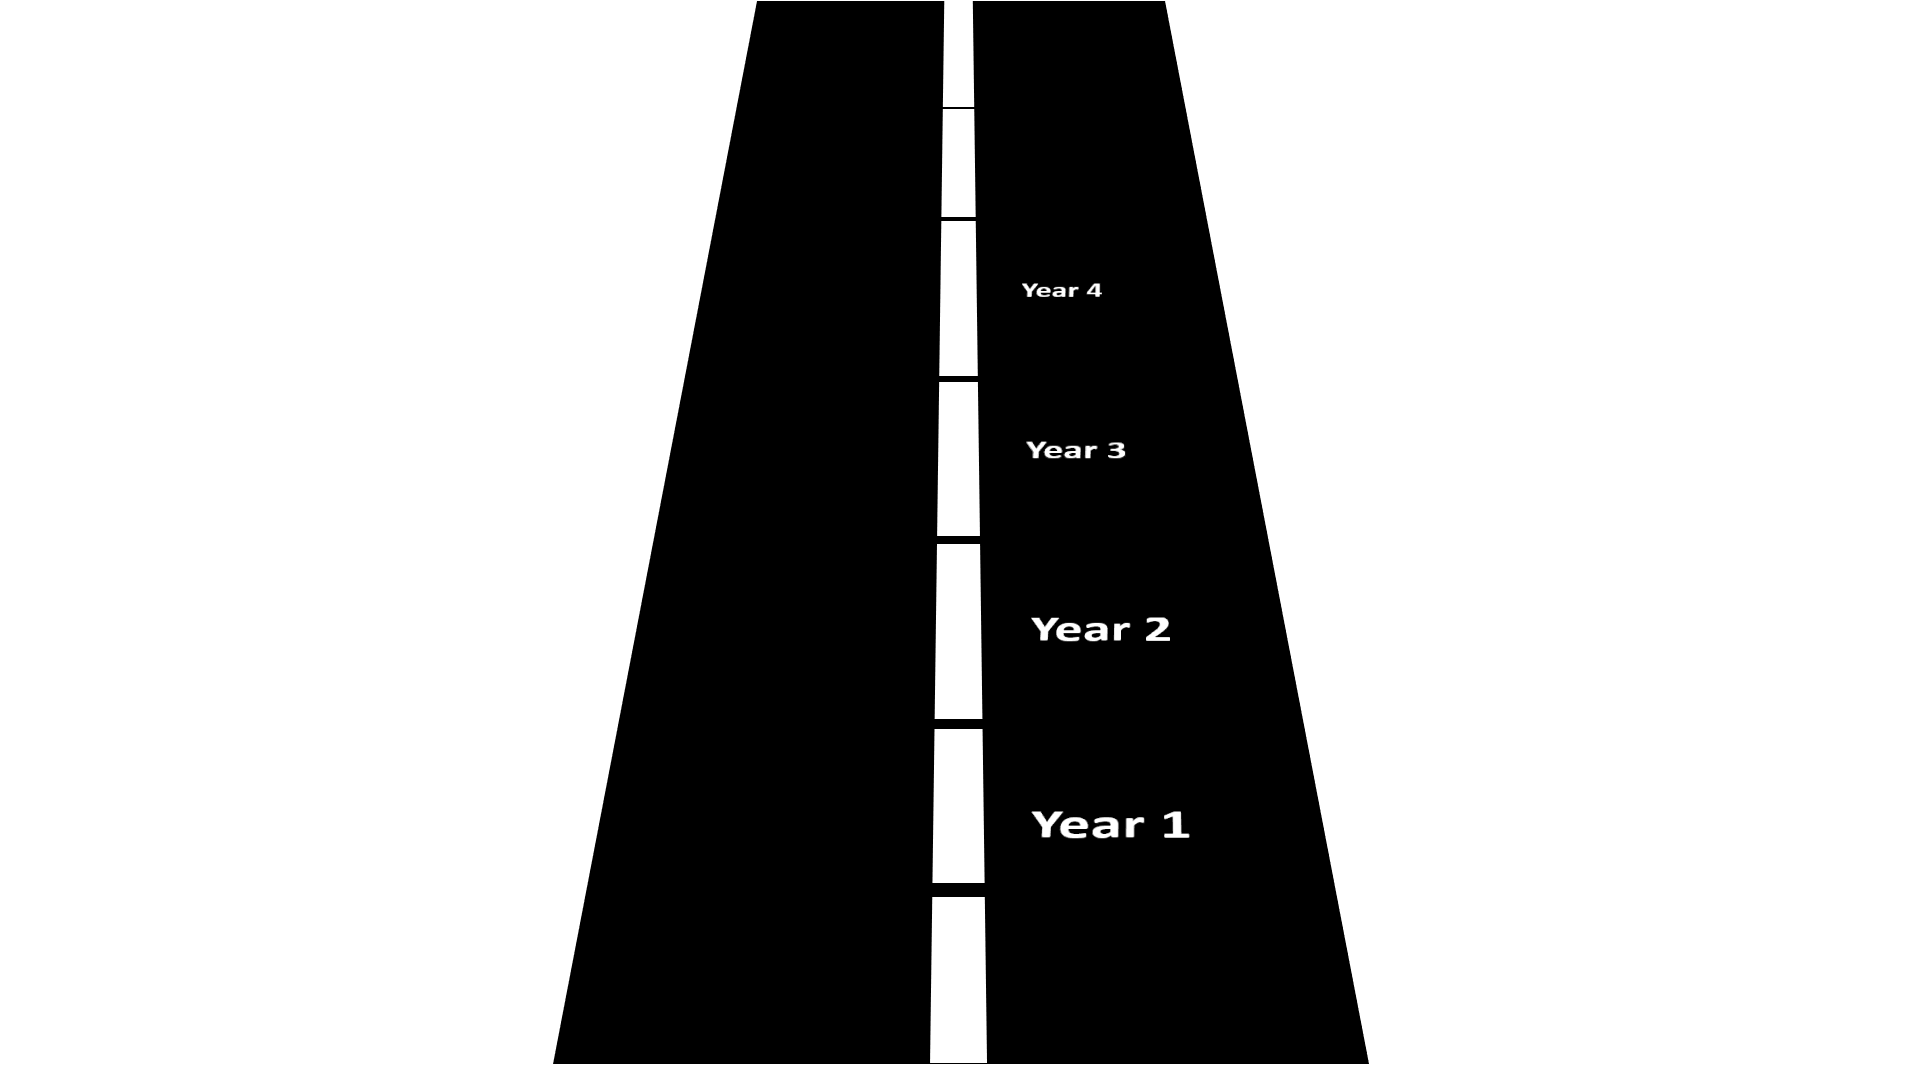
Step 15: Click on Insert -> Shapes and select Trapezoid
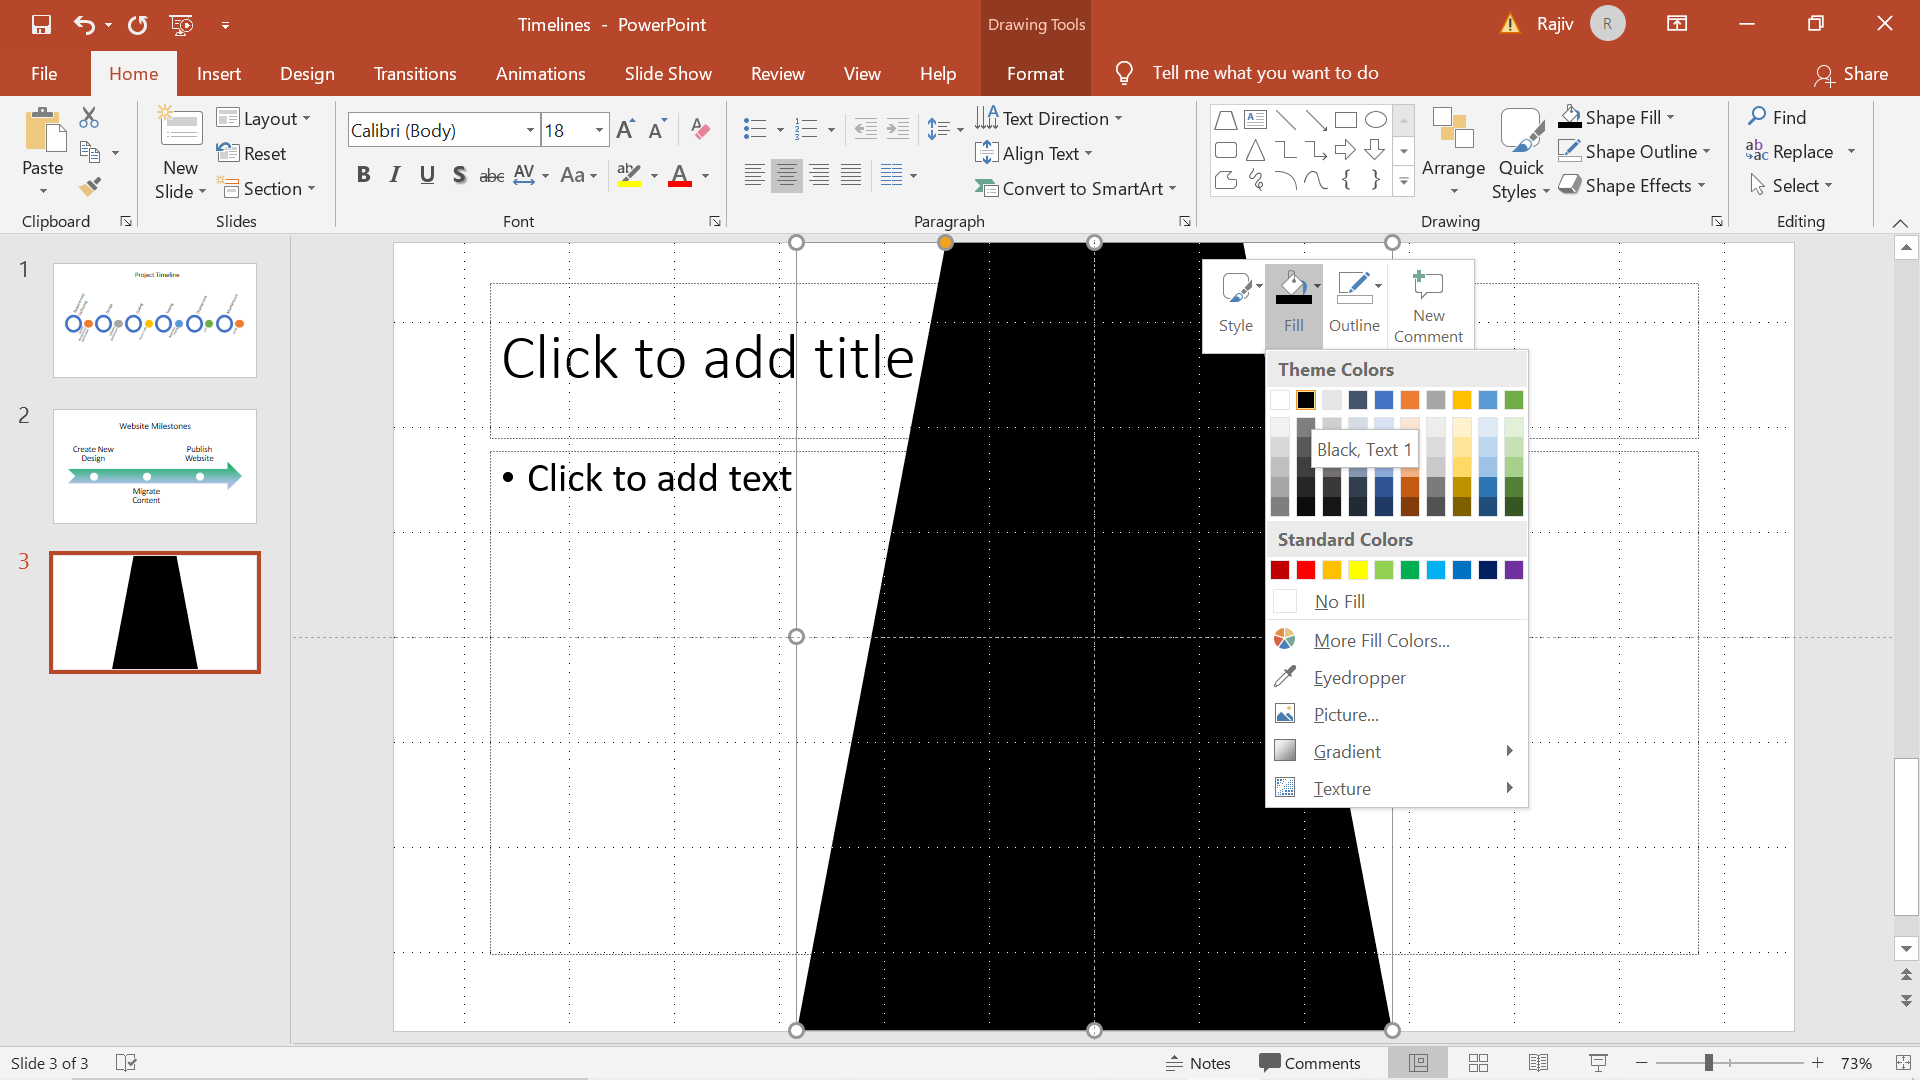
Step 16: Resize the object and change the color to black
Step 16: Draw the divider line in between using another Trapezoid and adjust the bottom of the shape to simulate a 3D perspective for the divider line.
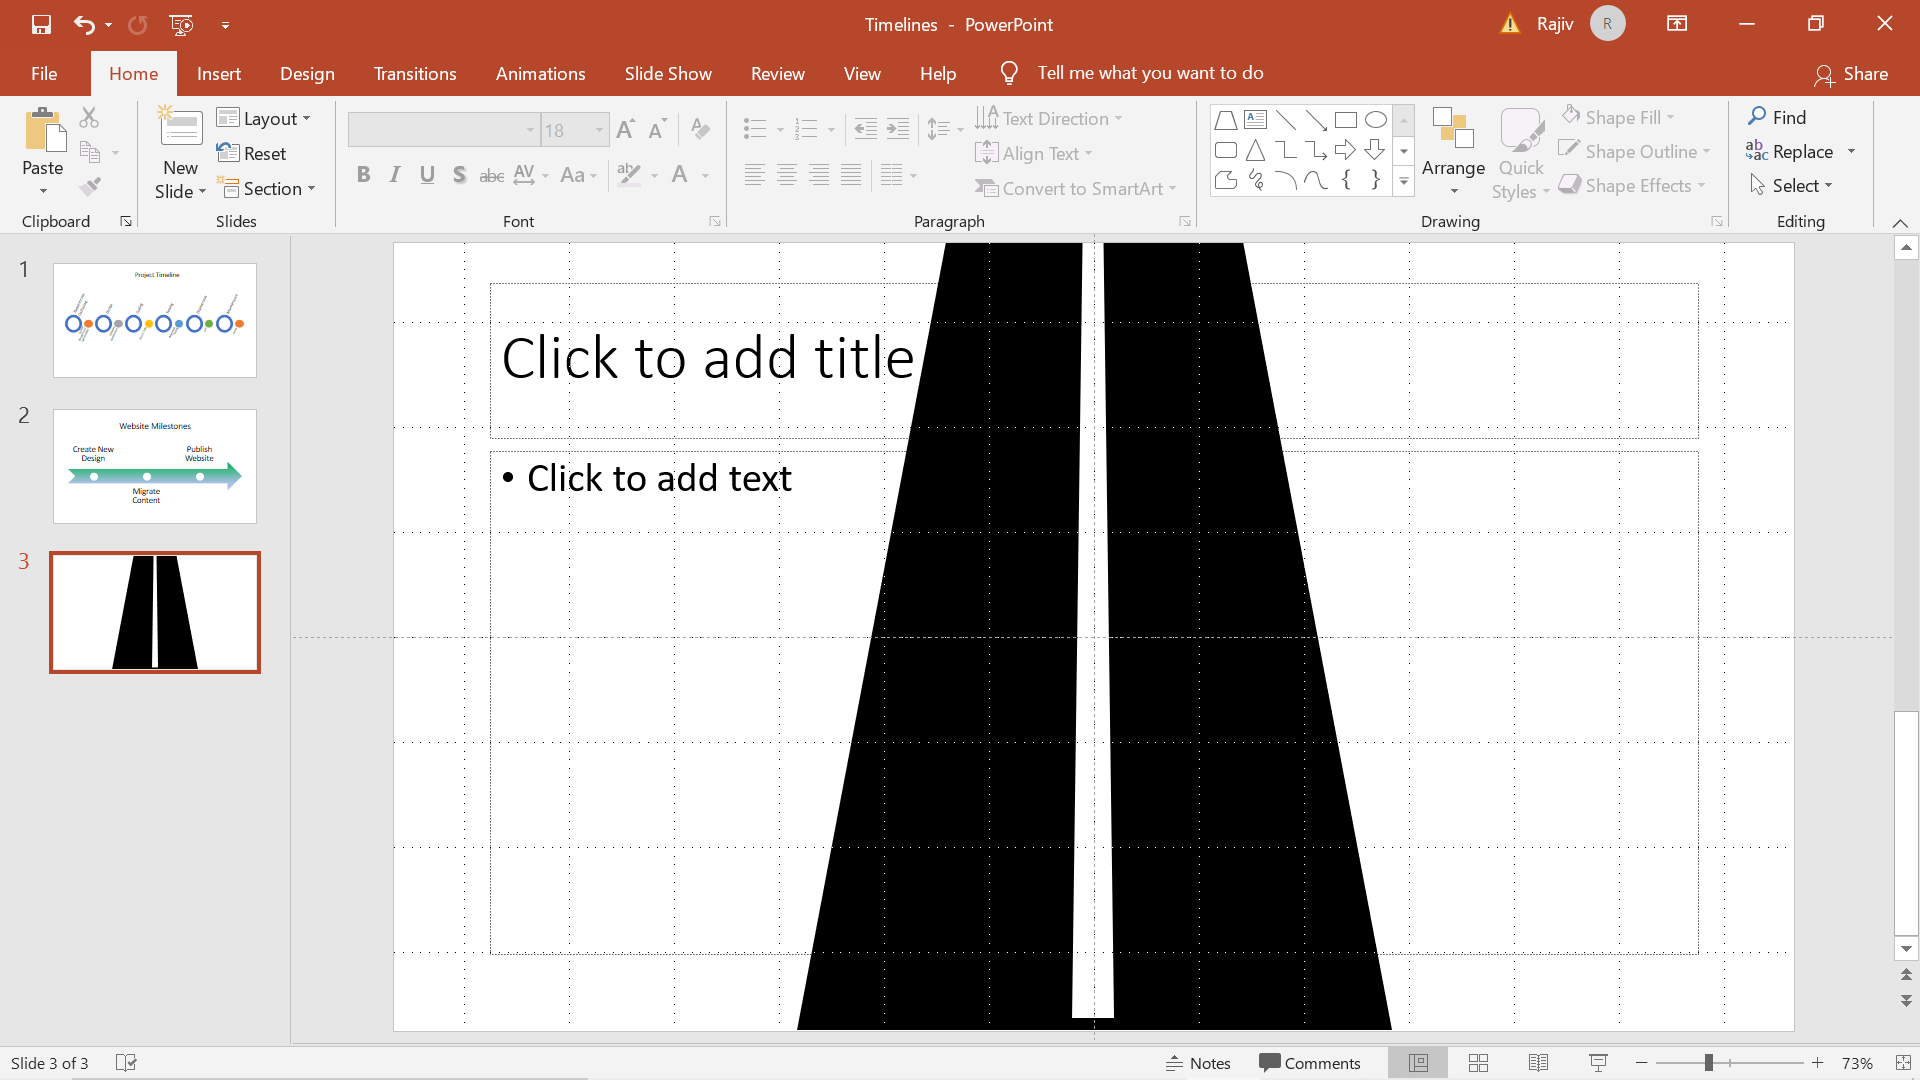
Step 17: Draw Horizontal lines along the length of the white trapezoid and increase the thickness of the lines as you approach the bottom of the page

Step 18: Change the color the lines to black

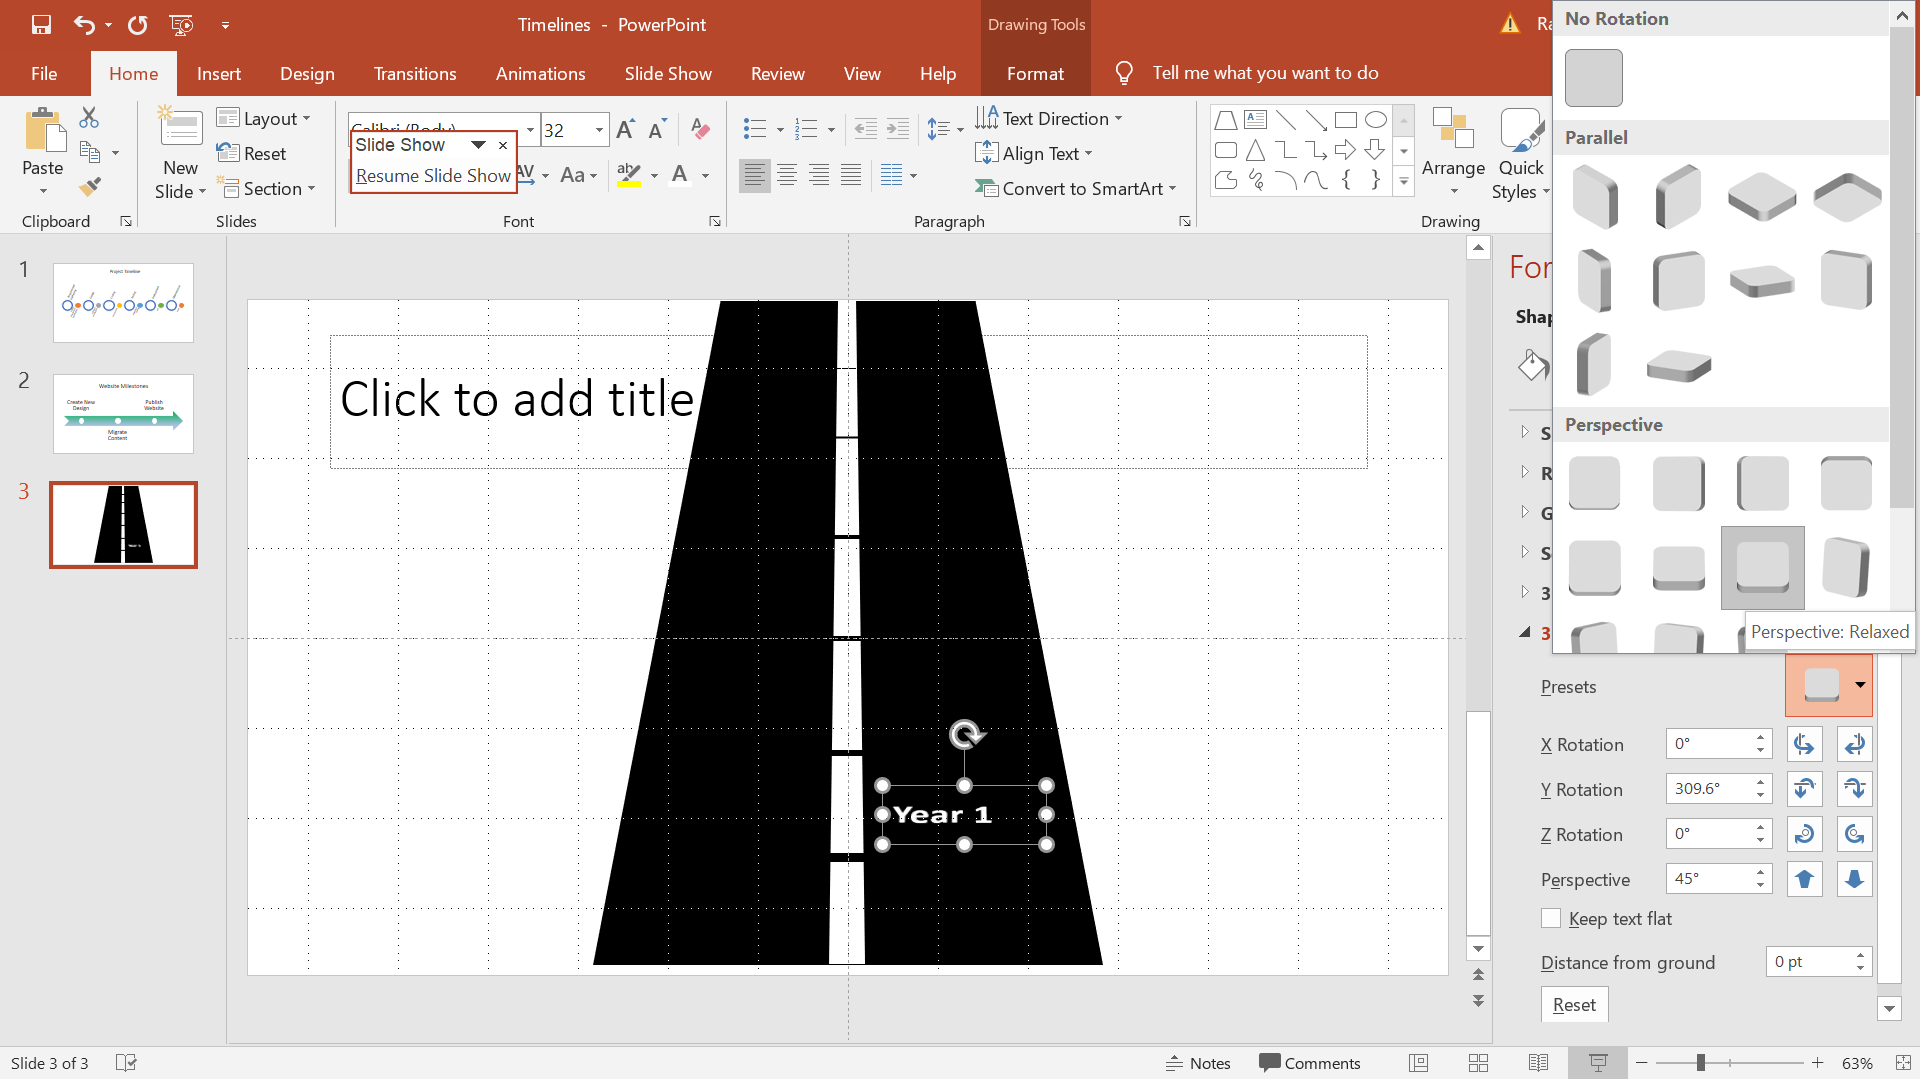
Step 19: Change the Text format. Format ->Text effects -> 3D rotation -> Perspective relaxed. This will make the text appear as if it is written on the road. Decrease the font as you move upwards.
Step 20: Preview the Slide
Scope of Usage
Let us learn how to create the below Timelines using SmartArt
- Circle Accent Timeline
- Basic Timeline
- Roadmap Timeline
Step1: Click on Insert -> SmartArt
Step 2: In the pop-up box, on the left-hand side, click Process
Step 3: Choose Circle Accent Timeline
Step 4: Enter the Timeline elements
Step 5: Click on Change Colors to find the color scheme that best fits your need
Step 6: Click on Insert –> Text Box
Step 7: Insert suitable Slide Header
Step 8: Preview the Slide
Step 9: Press Ctrl + M to insert a new slide
Step 10: Choose Basic Timeline
Step 11: Add Text
Step 12: You can adjust the fill options using a custom gradient color
Step 13: Insert suitable Slide Header
Step 14: Preview the Slide
Step 15: Click on Insert -> Shapes and select Trapezoid
Step 16: Resize the object and change the color to black
Step 16: Draw the divider line in between using another Trapezoid and adjust the bottom of the shape to simulate a 3D perspective for the divider line.
Step 17: Draw Horizontal lines along the length of the white trapezoid and increase the thickness of the lines as you approach the bottom of the page
Step 18: Change the color the lines to black
Step 19: Change the Text format. Format ->Text effects -> 3D rotation -> Perspective relaxed. This will make the text appear as if it is written on the road. Decrease the font as you move upwards.
Step 20: Preview the Slide
Scope of Usage
- Can be used by Project Managers responsible for Project Implementations
- Can be used by Entrepreneurs and business professionals for future plans
- Can be used by Business Managers to demonstrate business highlights
- Cab be used by Human Resources to showcase the evolution of a company